Boat Wiring Tools
-
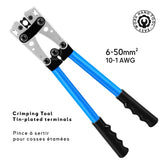
Crimp tool for tin-plated terminals 6-50mm²CT650 Crimp Tool for Tin-Plated Terminals 6-50mm² | Professional Grade for Marine Applications 🔧 Precision Crimping: The CT650 crimp tool offers reliable performance for crimping tin-plated terminals (cable lug), perfect for boat electrical systems. Designed for copper tube terminals, it ensures secure and consistent...
- 34.50€
- 34.50€
- Unit price
- per
-
Crimping pliers for cable ferrulesHand crimping tool for cable ferrules | Professional Grade 🔧 Precision hand crimping: Our hand crimping tool offers professional-grade performance, designed specifically for ferrules. Built for precision and reliability, this tool ensures secure crimps every time, making it an essential choice for marine electricians...
- 22.00€
- 22.00€
- Unit price
- per
-
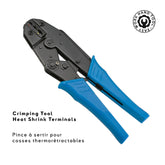
Crimping tool for heat shrink terminalsHand crimping tool for heat shrink terminals | Professional Grade 🔧 Precision Hand Crimping: Our Hand Crimping Tool offers professional-grade performance, specifically designed for heat shrink terminals. Built for precision and reliability, this tool ensures a secure crimp every time, making it an essential...
- 17.50€
- 17.50€
- Unit price
- per
-
Heat gun with temperature control - 2000w🔥 2000W Heat Gun - The Ultimate Tool for Precision and Power Tackling tough tasks requires the right tool, and our 2000W heat gun is designed to deliver top-tier performance and durability. Whether you're on board or working in your garage, this is the...
- 32.00€
- 32.00€
- Unit price
- per
-
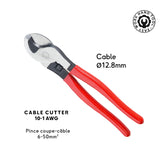
Manual Cable Cutting Tool 6-70mm²Manual Cable Cutter for 6–70 mm² Cables | Durable Steel Handles 🔧 Precise and Consistent Cutting: The MCCT manual cable cutter is designed for clean cuts on copper and aluminium cables up to 70 mm² (AWG 8 to 2/0). Its optimized blade profile and 12.8 mm...
- 9.90€
- 9.90€
- Unit price
- per
-
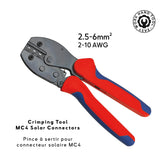
MC4 Solar connector crimping tool, 2.5-6mm²MC4 Solar Connector Crimping Tool | PVCT Crimping Tool for Solar Repairs 🔧 Essential for Solar Maintenance: The PVCT MC4 crimping tool is designed specifically for crimping MC4 solar connectors, making it an indispensable tool for solar system maintenance, especially in marine environments where...
- 19.00€
- 19.00€
- Unit price
- per
