


Everything you need to know about marine switch panel : how to choose and install.
Complete Guide: Boat Switch Panels

When underway, reliable electrical systems are essential. The switch panel is the central hub, enabling centralized control of onboard devices such as navigation lights, bilge pumps, GPS, and autopilot — all vital for safety and proper vessel operation.
Quality panels designed for marine environments are specifically built to withstand challenges like saltwater exposure, UV rays, and constant vibration. Their durability and efficiency ensure that essential equipment stays operational even in demanding conditions. Selecting the right panel is key to keeping your boat’s electrical system dependable and well-organized.
This guide outlines the main factors to consider when choosing a boat control panel, reviews essential features, and provides practical installation and maintenance tips to enhance both performance and safety.
Key Considerations When Selecting or Upgrading a Switch Panel
Choosing the right switch panel requires careful assessment of your boat’s operational needs, environmental conditions, and future expansion plans. It’s not just about functionality — it’s about ensuring critical systems remain reliable in all conditions.


Types of Electrical Panels for Boats

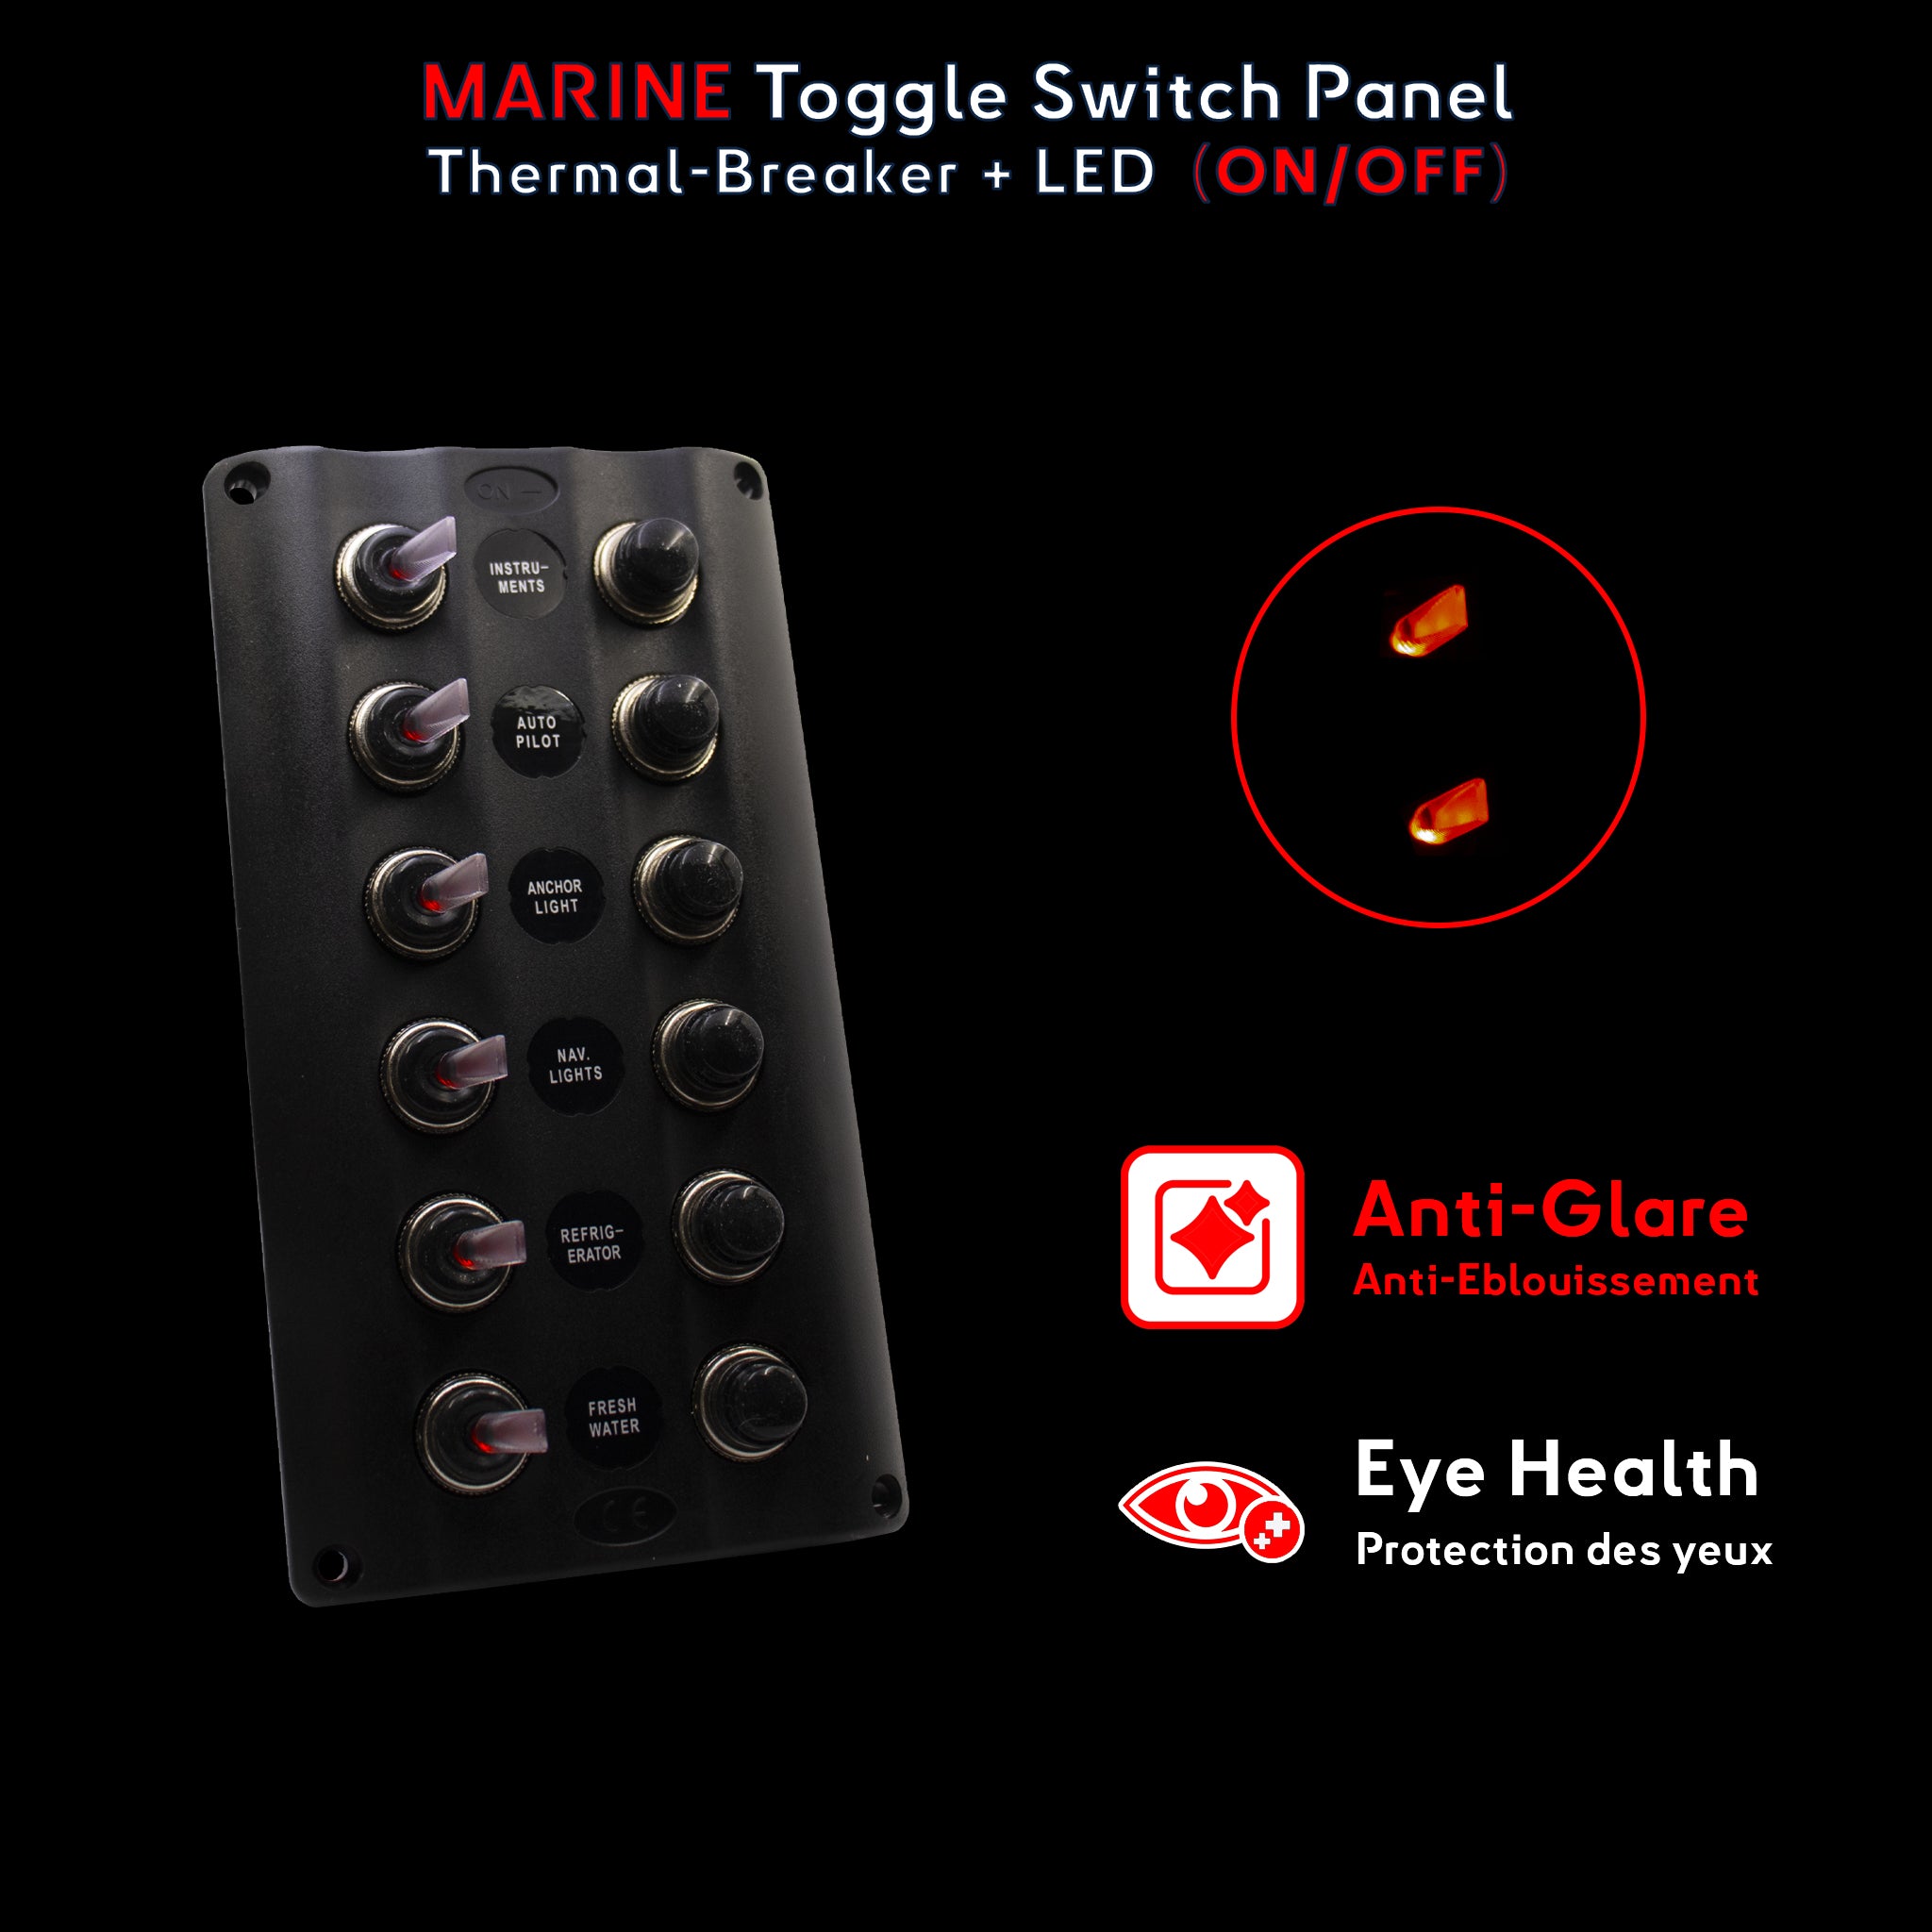
Toggle Switch Panels
Toggle switches are a classic and proven choice, often called “aviation-style” due to their long history in both aircraft and boating applications. Known for simplicity and reliability, they are functional, robust, and easy to operate with a clear on/off mechanism.
These switches are ideal for controlling basic functions such as navigation lights and bilge pumps. While they may lack advanced features or modern aesthetics, their durability and ease of use make them practical, especially for smaller boats with simpler electrical needs. Their rugged design ensures long-term performance in challenging environments.

Push Button Panels
Push buttons offer a sleek, modern appearance, often featuring engraved or backlit icons that enhance the overall design of the panel. They are popular on medium to large vessels where style is as important as function, providing a clean, minimalist look ideal for premium installations.
However, push buttons have some limitations. They are less versatile in switching functions than toggles and often require more complex wiring to achieve the same capabilities. This extra complexity can increase installation time and maintenance needs. Despite these drawbacks, their visual appeal and smooth operation make them a popular choice for modern boat interiors.

Rocker Switch Panels
Rocker switches are versatile and visually appealing, combining practical functionality with advanced features. Designed for easy use even in rough seas, they are widely installed across many boat types. Their ability to integrate into backlit panels makes them both practical and stylish.
They are highly adaptable — allowing for cover swaps, function changes, or dual-color LED indicators (e.g., green for active, red for inactive) to monitor system status. Adjustable illumination further improves usability day and night. Their flexibility and feature set make rocker panels one of the most practical control solutions available.

Touchscreen Control Panels
Touch panels are the cutting edge of onboard electrical control, offering digital interfaces to manage multiple systems from a single customizable screen. Ideal for complex electrical configurations, they allow many switches to be replaced by one interface.
However, these advanced features come at a higher cost, and their reliance on electronics and software may make them less resilient in harsh marine environments compared to mechanical switches. While offering unmatched convenience and customization, they are best suited for vessels where technology and style are top priorities. Baywatt offers a simplified version without CAN-bus integration.
How to Choose the Right Switch Panel
Selecting the right boat switch panel means considering various factors to ensure it meets both your functional needs and personal preferences. Here’s a guide to help you make the best choice:
-
Select your switch type: Decide between toggle, push button, or rocker switches. Each has pros and cons, so consider both functionality and personal style:
- Toggle switches are traditional, intuitive, and robust — perfect for simple on/off control.
- Push buttons offer a modern look and are often available with LED backlighting, ideal for sleek setups.
- Rocker switches are durable and easy to operate, even in rough conditions, making them versatile for multiple uses.
- System compatibility: Ensure the panel matches the circuits you plan to control, especially if upgrading. For example, Baywatt toggles use 12 mm mounting holes, while push buttons require 22 mm. Check dimensions before replacing components.
- Number of switches and spare capacity: Choose a panel with enough switches for all onboard systems — navigation lights, bilge pumps, audio, etc. Keep at least one spare position for future additions to avoid rewiring later.
- LED indicators: Opt for panels with dual-color LEDs (red/green) for easy status monitoring, or anti-glare lighting for night use. This improves comfort and safety by clearly showing system states.
- Size and layout: Measure your dashboard space carefully and choose a panel that fits well. A tidy layout improves both usability and aesthetics.
- Weather resistance and materials: Look for corrosion-resistant materials such as stainless steel, polycarbonate, or nylon-reinforced ABS. High-quality construction extends lifespan and reliability in saltwater and UV exposure.
How to Install a Boat Switch Panel
Installing a switch panel requires planning and the right tools to ensure safe and effective operation. Here’s a step-by-step guide:
- Gather tools and materials: Screwdrivers, wire cutters, crimping pliers, a saw or Dremel for cutouts, and a drill for mounting holes. Prepare marine-grade wires, connectors, mounting screws, and components rated for the panel’s load.
- Safely disconnect power: Instead of removing the battery directly, connect the panel via a breaker with overload protection to reduce the risk of shorts or surges.
- Plan the mounting location: Choose an accessible, dry spot within easy reach. Consider cable lengths, related instruments, and routing for both safety and convenience.
- Run cables and prepare connections: Use marine-grade wire for durability, avoid moving parts, secure cables with ties, and prepare connectors sized correctly for your wiring.
- Cut and mount the panel: If a custom fit is needed, cut the opening with a saw or Dremel. Drill pilot holes and mount flush to the dashboard. Baywatt provides A4 templates with instructions for each panel.
- Wire each circuit: Connect each circuit to its respective switch using crimp connectors or marine-rated terminals. Double-check all connections for security and alignment.
- Test the installation: Reactivate the breaker and test each switch and indicator to confirm correct operation.

How to Maintain a Switch Panel
Regular maintenance ensures your panel stays reliable and extends its lifespan. Here’s how to care for it properly:
- Rinse with fresh water: Remove salt deposits without using high pressure. Check rubber switch boots for wear and replace if needed.
- Inspect seals and gaskets: Ensure seals are intact to prevent water ingress.
- Check for corrosion: Look for oxidation on terminals and apply dielectric grease to protect contacts.
- Protect from water exposure: Use covers when possible, especially in open cockpits.
- Annual wiring check: Look for fraying, rust, or loose connections. Tighten and replace as needed.
- Clean and tighten connections: Wipe contacts and apply anti-corrosion spray.
- Check breakers and fuses: Ensure breakers reset correctly and replace any damaged fuses.
Recommended Switch Panels
- Baywatt dual-color indicator panels: Available in toggle and rocker styles, ideal for modernizing your electrical control system.
- LED dual-color panel: Waterproof and durable, with clear red/green status indicators.
- Customizable panel: Allows adding switches for specific systems like GPS, pumps, or lights.

These panels suit a wide range of applications, offering durability and easy installation for both novice and experienced boaters.
Benefits of Upgrading Your Switch Panel
- Improved control: Consolidates multiple systems into one interface.
- Enhanced safety: Integrated breakers and fuses reduce fire risk.
- Optimized power management: Helps extend battery life and reduce generator use.
- Durability and weather resistance: Built to withstand harsh conditions.

These advanced panels make it easier to manage multiple systems while maintaining high performance in challenging conditions.
Switch Panel FAQ

- Why upgrade to a modern panel? Modern boat panels include LED indicators, breakers, and custom configurations for better safety and efficiency.
- How do dual-color LEDs help? Green = working, Red = off/fault, giving instant status feedback.
- Can I install it myself? Yes, with tools and clear instructions. For complex systems, hire a professional.
- What’s the difference between toggle, rocker, and push button? Toggles = classic, Rockers = versatile, Push buttons = modern style.
- How often to maintain? Inspect yearly, clean contacts, and check seals.
- Is waterproofing essential? Yes, to protect against salt, moisture, and weather.
- What materials should I choose? Marine-grade stainless or reinforced plastics for long life.
Ready to Choose Your Next Switch Panel?
Whether you have a small fishing boat, an offshore cruiser, or a luxury yacht, investing in a reliable switch panel is essential for safety, efficiency, and performance. Modern panels offer advanced features like dual-color LEDs, breakers, and custom layouts to match your needs.
Discover the BAYWATT range of high-quality boat switch panels, built to withstand the toughest conditions while providing unmatched functionality. Upgrade today for a safer, more enjoyable boating experience!


